How to get started with hiking
If you've never hit the trails (but always wanted to), my detailed how-to guide is for you!
This issue is sponsored by LMNT Electrolytes, which will immediately become your hiking BFF I PROMISE YOU. Get a free 8-pack sampler with any drink mix purchase, including fan-favorite Grapefruit and summertime classics Citrus, Raspberry, Orange, and Watermelon.
I remember my first hike, in the White Mountains of NH. I was in high school, and my new boyfriend’s friends invited me on a day hike. I had no idea what I was doing. I brought a tiny bottle of water, no snacks, and no layers. I wore sneakers. I don’t remember much of the trail or views because I was just trying to not fall down. I definitely thought, “This is not fun.”
Today, hiking is LIFE. I’ve solo-hiked trails from Norway to Banff, in U.S. National and State Parks, and hundreds of local trails on road trips through Utah, Colorado, Nevada, Wyoming, and Arizona. Hiking may seem intimidating, but most trails are just walking—sometimes uphill, sometimes with obstacles. If you can walk, you can hike!*
Also, hiking doesn’t HAVE to be uphill OR have obstacles. Flat trails count as hiking. Paved trails count as hiking. If you’re moving your body through nature in any capacity, you can consider it hiking. You can do it any way you want, and that is your first “introduction to hiking” lesson.
*If you use a wheelchair or other mobility device, you are also hiking! There are plenty of accessible trails, and hiking is NOT just for the able-bodies.
Truly, you just need THREE things to go on a hike: a trail, your gear, and some sustenance.
Pick your trail
There are a number of ways to find a trail—a Google search (“hiking trails near me” or “easy hikes in Salt Lake City”), word of mouth (ask a friend!), or visiting your local parks’ websites—but I recommend downloading the AllTrails app. There is a free version that lets you search for trails, and will automatically show you trails in your area. (The Pro version lets you download trail maps, which I’d highly recommend if you plan on hiking often, alone, or in more remote areas.)
AllTrails lets you filter trails by difficulty (easy, moderate, hard), by feature (dog-friendly, wheelchair-friendly), distance, and elevation gain. It also features hikes on your explore page, like “best views” or “weekend worthy.”
When you click into a trail, here are three things to review:
1. Distance: Look at the total distance, and whether this is “out-and-back” (where the mileage includes the hike out and the hike back); a loop (where you start and end in the same place); or a “point-to-point” (where you end in a different place, requiring a shuttle or some other way to get you back to your car). For your first hike, choose something within your ability. Some trails are less than a mile out-and-back, and that still counts as hiking.
2. Elevation gain: This tells you how much you’ll climb on this trail. A 200-ft elevation gain isn’t much, but 1,000 feet can be significant! You must also compare this to the mileage. (If the trail is only 1 mile in total but the elevation gain is 800 feet, that’s a steep-ass trail.) Also remember on a point-to-point, all of the elevation gain is usually in the first half of the trail. (You’ll climb UP to the end, than back down to your car.) A 3-mile trail with 800 feet of gain doesn’t sound steep, but if all of that gain happens on the 1.5 mile hike out, all of a sudden that trail looks steeper.
Pro tip: Tap on the trail map in AllTrails to see a depiction of the elevation gain beneath. This will warn you if the trail is largely flat with a very steep finish, or if the elevation gain is spaced pretty evenly throughout.
3. Description and Reviews: The trail description will give you important information about seasonality, parking, and whether the trail is dog-friendly. The reviews are even more helpful, as people will share specifics about current trail conditions, snow/ice/mud, tricky spots, wildlife, tips for going clockwise or counterclockwise, and more. Always read the reviews the morning of your hike!
Choose a trail suited to your ability. If you’re not sure what you could do, start off conservatively, with a short easy trail to build your confidence. It’s far better to get back to the car and say, “That felt great, I could have gone longer!” and you don’t want to run the risk of injury, heat exhaustion, or dehydration on a trail you’re not prepared for.
Also, check the weather the morning of your hike, in the area where you’ll be hiking! If you’re in an area where mid-afternoon thunderstorms are the norm, or rain or wind is predicted, you’ll want to know that and pack accordingly.
Pack your gear
You don’t NEED specialty equipment to hike; you can hit the trail in sturdy shoes with good traction, your normal athletic wear, and any old pack. However, some attention to detail can make the difference between a happy, safe hike; and slipping, chafing, or sweating like crazy.
Shoes: You can hike in sneakers (or Crocs, or flip-flops), but this is one area where I’d buy something specific. You don’t need big hiking boots, though—consider a trail running sneaker. (That’s what I hike in 80% of the time.) The most important point is that it fits your foot well, is comfortable, and feels stable on rocks, dirt, and mixed terrain.
Socks: Avoid 100% cotton, or your feet will sweat and you may get blisters.
Pants/tops: If you wear gym-wear, you’ll do fine. Avoid jeans or 100% cotton here too, but as long as the weather is decent (above 50, not raining) just about anything else here goes. You do want layers (like a light windbreaker, a long-sleeved layer, or a rain jacket) in case it’s colder by the lake, you need sun or bug protection, or the weather shifts.
Pack: You may want a small backpack (15L) for a day hike, but you also might be able to take a small fanny pack or trail vest for shorter excursions. Make sure whatever you bring is comfortable and can hold everything you need, especially water.
Also, I know there’s a meme out there that says, “Hey guy with hydration pack, 2 hiking sticks and North Face vest; my 5-year-old walked the same trail in Crocs carrying a naked Barbie. Relax.” THIS IS NOT THE VIBE, and this person is a jerk. Being under-prepared is not a flex. Being prepared is cool. Being over-prepared (in retrospect) is also cool!
I want you to feel comfortable and confident. If you feel better taking extra layers, packing poles, and wearing an InReach even though you can see your car the whole time you’re hiking, PLEASE DO THAT. As with any practice, the better you get, the more dialed in your prep will be, but in the beginning, I’d rather you be over-prepared than under-prepared.
See these free XO, MU resources for more about what to wear and what to pack during your summer and winter hikes, plus safety tips.
Pack your water, LMNT, and snacks
The last thing you’ll need is plenty of water, electrolytes, and snacks. I’ll always encourage you to over-prepare here. Being stuck on the trail without water can be truly dangerous, and running out of water, electrolytes, or food can turn a fun hike into a miserable one.
Water: If I plan on being out for longer than an hour, I’ll take 3 liters of water. I never hike with less than 2 liters of water, I don’t care where I’m going. Ideally, you’d purchase a water reservoir (sometimes called a “hydration bladder”) with a tube to make drinking easy and hands-free. (They’re about $30 on Amazon, and all hiking packs include a sleeve to store them.) If you’re new, though, just pack a bunch of water in a big water bottle or two, and leave extra water in the car just in case.
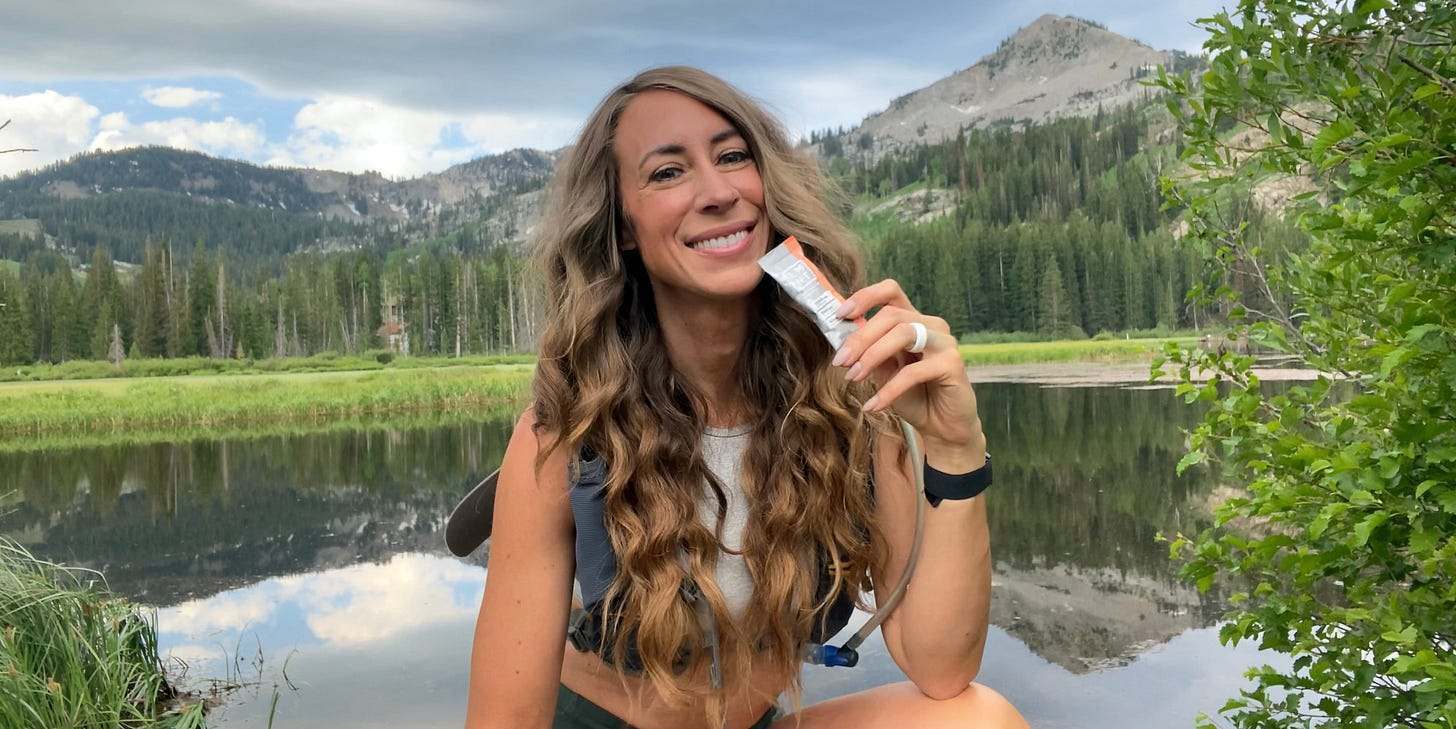
Electrolytes: If you’re going to stay hydrated on the trail, you cannot forget to replenish your electrolytes too. I recommend LMNT Electrolytes for hiking, especially in heat and/or at higher elevation. LMNT replenishes precious sodium lost when you sweat, and helps improve your energy and keep you muscle-cramp free on the trail. Everyone I’ve given LMNT to before a hike has said, “Wow, that made a huge difference!” Add a packet or two to your water bottle, depending on the size. (If I take a 3 liter reservoir, I’ll add two packets.)
Pro tip: Prepare your water + LMNT the night before and pop it in the fridge overnight. There is nothing as refreshing as icy cold LMNT-infused water on the trail!
Snacks: This is the most variable, and depends on when you’re hiking, how long the hike is, and how long it takes you to get back home. Throw some protein, carbs, and fat in your pack, and maybe a little extra in a cooler in your car. I always hike with a few meat sticks, some pistachios, a bag of dried mango, and an RXBAR, Larabar, or Bobo’s bar. This stuff is small, so you can go a little overboard with little downside.
On longer or hot hikes, avoid anything that needs to be refrigerated (like a mayo-based chicken salad), or anything that’s easy to squish in a pack. (I love a good PB&J on the trail, but I’ll pack it in Tupperware.) Also, don’t eat or drink anything new on the trail—now is not the time to have a GI disturbance. Pack bars, snacks, and drinks you know work well for you, and if you want to add something to your hiking snack pack, experiment at home first.
It may feel like overkill to pack water and snacks for a 1-mile loop around your local park, but carrying a pack here will help prepare your body for longer hikes and heavier packs, and again—you never know.
Happy trails!
I hope these tips give you the intel and confidence you need to hit the trails this spring and summer! If there’s a hiking question I haven’t addressed in my resources, leave it in comments! (The comments are open to everyone for this issue.)
Don’t forget to stock up on LMNT! For hiking, my favorite combo is 1 pack Watermelon + 1 pack Orange. It’s like a tropical explosion in the middle of the forest, trust.


